How to Replace Your Garage Door Opener: A Comprehensive Guide to Smooth Installation
Replacing a garage door opener can be daunting, especially if the motor has failed or the system is outdated. Understanding how to replace the garage door opener motor and complete the installation process efficiently is crucial for a smooth operation. This guide will walk you through the entire process, offering step-by-step garage door opener installation instructions. Additionally, we’ll discuss the garage door opener replacement cost and when to seek professional help from experts like Integrity Garage Door Repairs in Saint George, VT.
Content
Identifying the Need for Replacement
Before diving into the replacement process, it’s essential to recognize the common issues that might necessitate replacing your garage door opener:
- Faulty Motor: If the motor frequently stalls or makes unusual noises, it might be time to replace the garage door opener motor.
- Outdated System: Older garage door openers may lack safety features and modern conveniences, making replacement beneficial.
- Unresponsive Controls: Persistent issues with remote or wall controls often indicate the need for a new opener.
Step-by-Step Garage Door Opener Installation
1. Gather Necessary Tools and Materials
Before starting, ensure you have the required tools and materials:
- New garage door opener kit
- Screwdriver set
- Wrenches
- Pliers
- Stepladder
- Safety glasses
2. Remove the Old Opener
Begin by disconnecting the power to your garage door opener. Unplug the unit from the outlet and detach the opener from the garage door. Use a screwdriver and wrenches to remove the mounting brackets and hardware securing the old opener.
3. Install the New Garage Door Opener
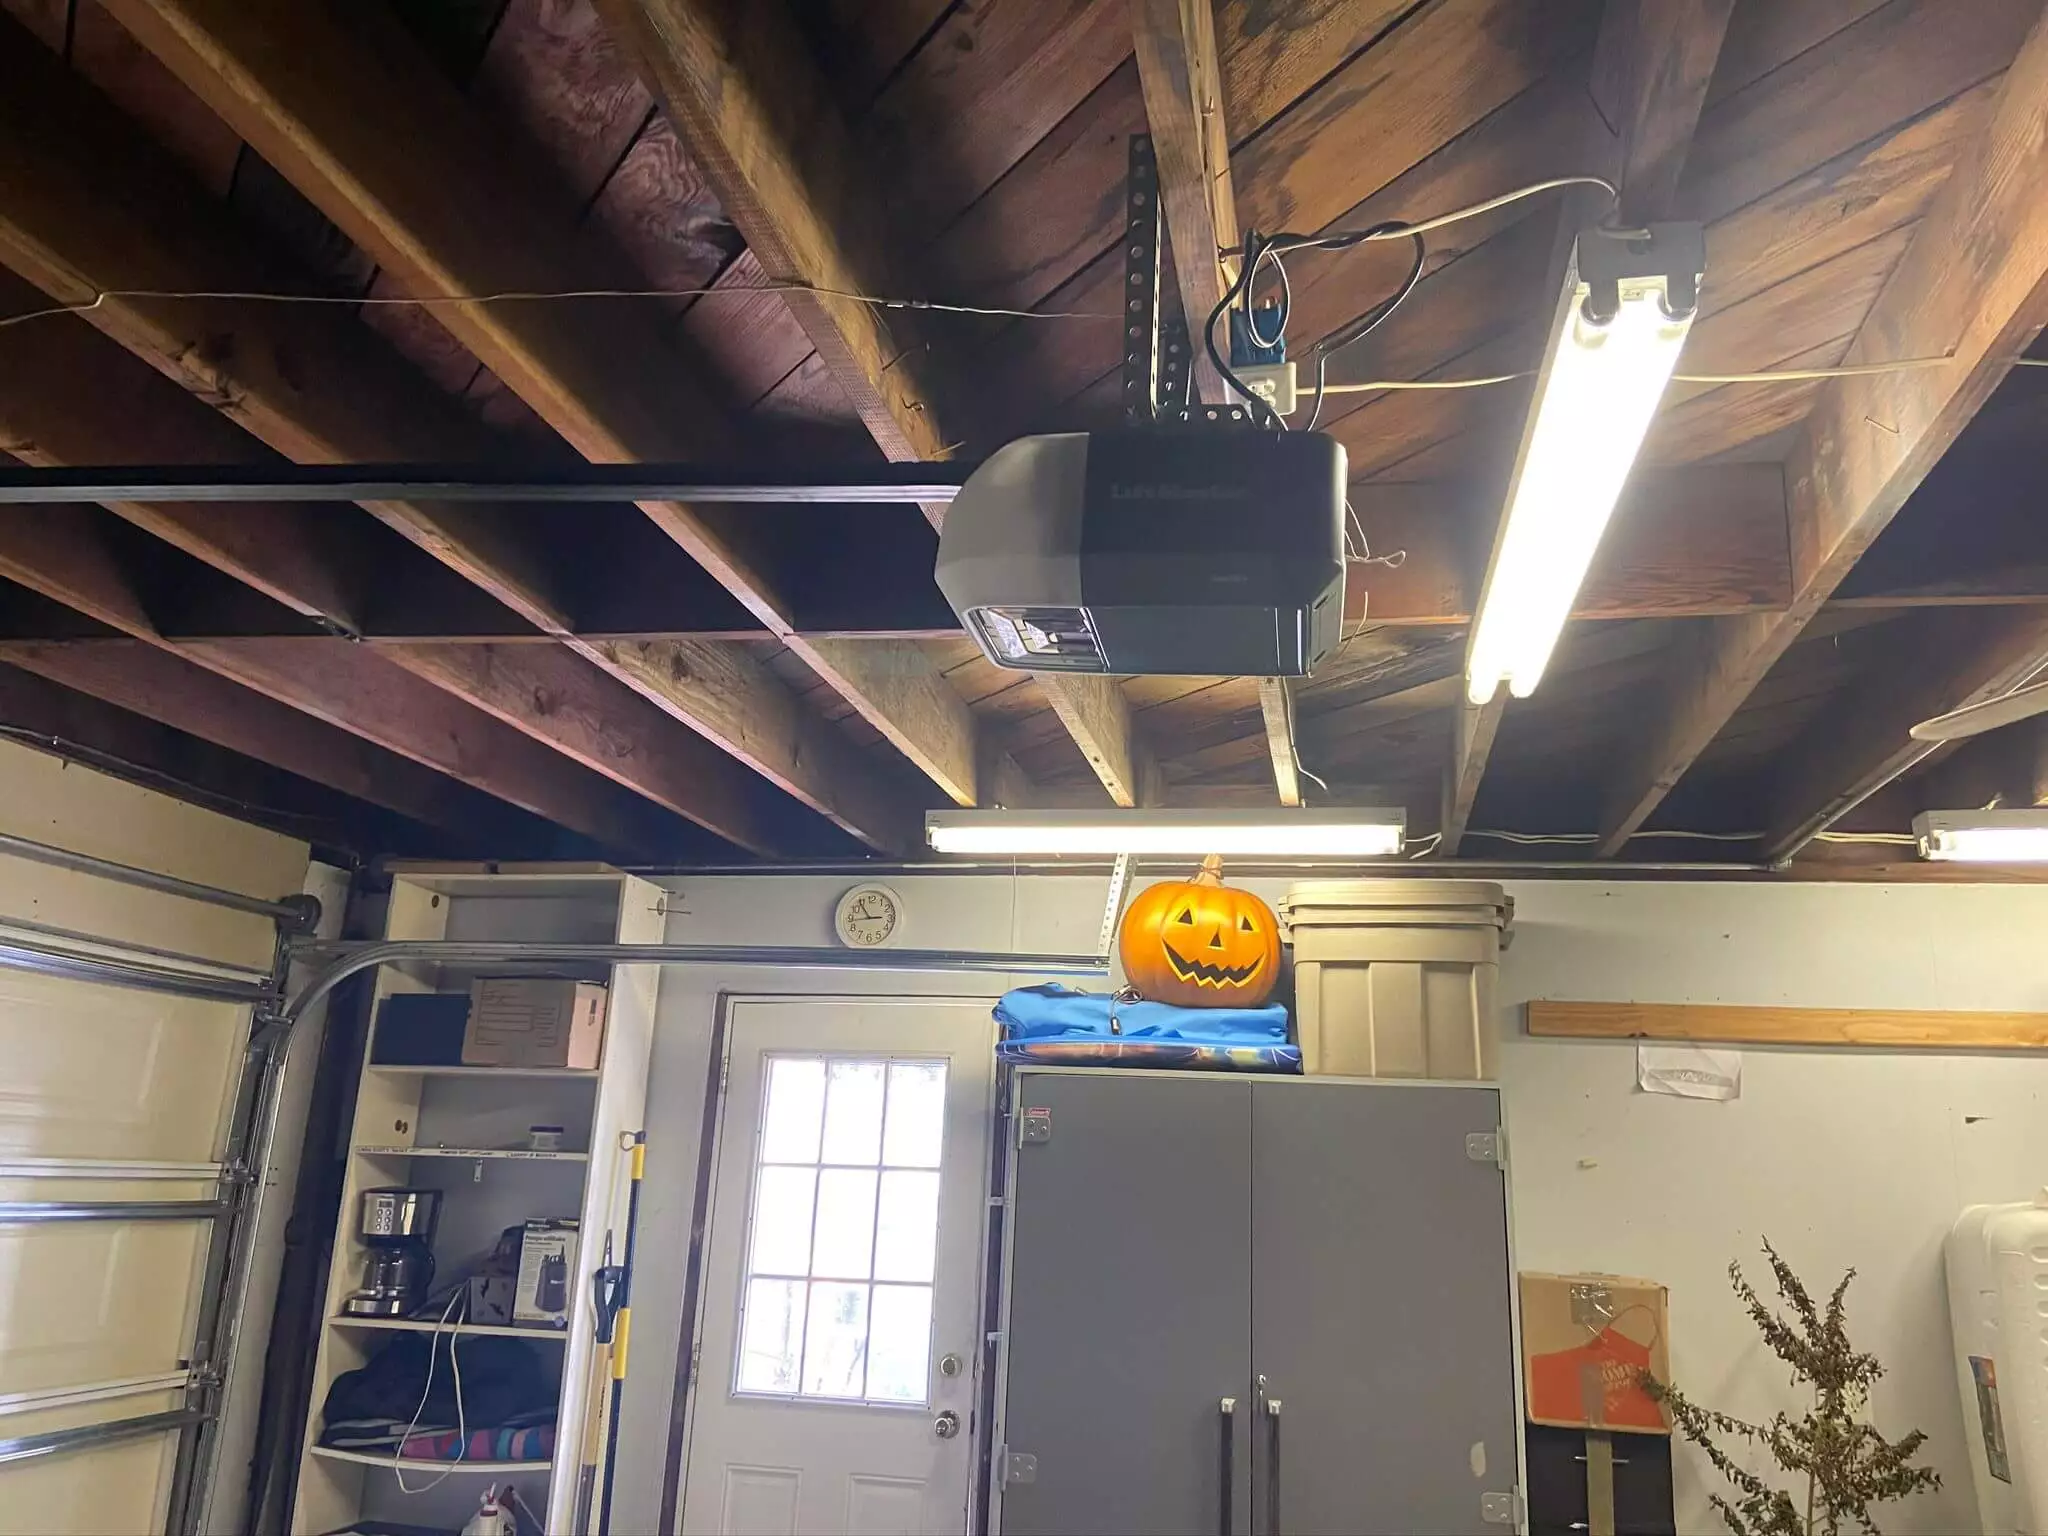
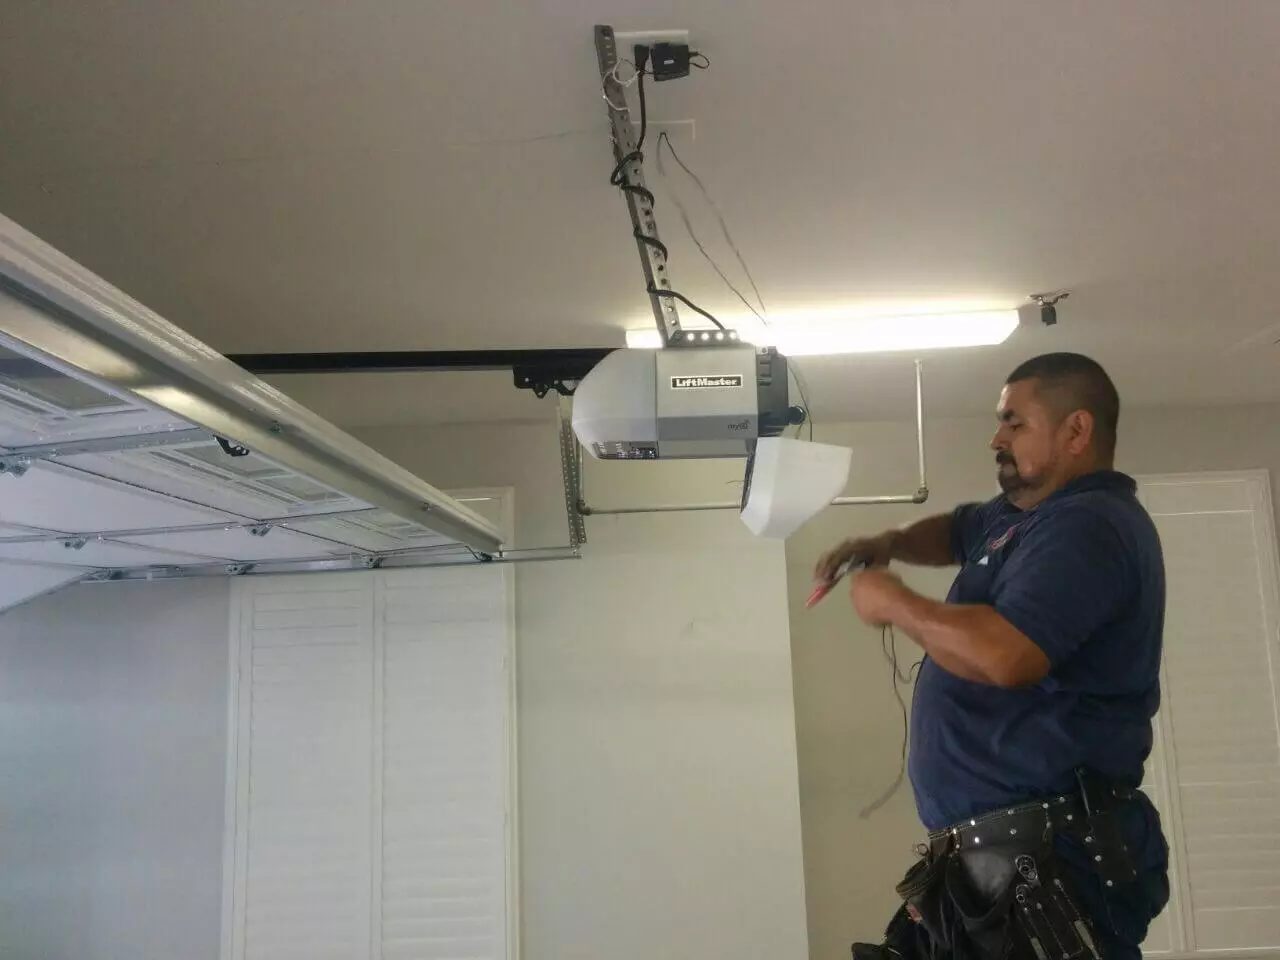
Following the manufacturer’s garage door opener replacement guide, assemble the new opener. Typically, this involves attaching the rail to the motor unit and installing the trolley. Secure the rail to the wall above the garage door and attach the opener to the ceiling using the provided brackets.
4. Connect the Door and Opener
Next, attach the door arm to the trolley and secure it to the garage door. Ensure the arm is aligned properly to facilitate smooth operation. Connect the safety reversing sensors on either side of the door, about 6 inches above the ground.
5. Wiring and Power
Run the opener’s power cord to the nearest outlet and plug it in. If hardwiring is required, ensure all connections comply with local electrical codes. Reconnect any wall controls and remotes according to the instructions.
6. Test the System
Once installed, test the new garage door opener to ensure everything functions correctly. Check the door’s movement, sensor alignment, and remote control responsiveness.
Understanding Garage Door Opener Replacement Cost
The cost to replace a garage door opener can vary based on several factors, including the type of opener and installation complexity. On average, homeowners can expect to spend between $200 to $500 for a new opener, with professional installation adding to the overall cost. For precise estimates, consult professionals like Integrity Garage Door Repairs in Saint George, VT, who can provide accurate quotes and expert installation services.
Conclusion
Knowing how to replace your garage door opener can save you time and money, ensuring your garage operates safely and efficiently. By following this step-by-step garage door opener installation guide, you can tackle the task with confidence. However, if the process seems overwhelming, seeking assistance from professionals like Integrity Garage Door Repairs in Saint George, VT, is always a wise choice. With proper tools, a clear guide, and expert help, replacing your garage door opener can be a straightforward and rewarding project.

Alvin Newman is an expert in all things technology. He enjoys writing blogs about how to use the latest software and hardware on the market, while also providing advice for using existing technology more effectively. His favorite pastimes include reading comic books and playing video games.

